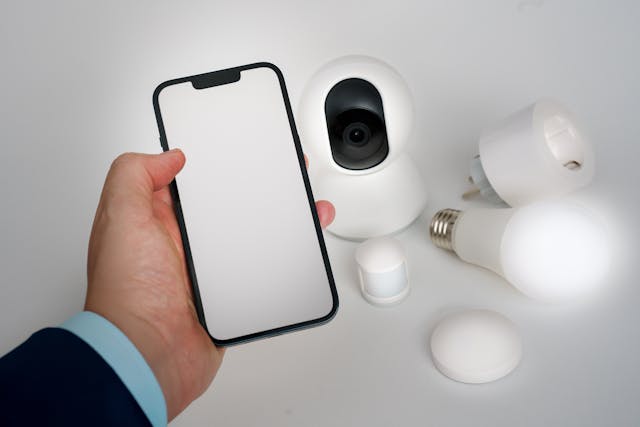
Smart lighting is one of the easiest and most impactful upgrades you can make to your home. Whether you want to control your lights remotely, set up automation, or create a cozy ambiance with custom scenes, smart lights are the way to go. In this guide, we’ll walk you through installing smart bulbs and light strips, address common connectivity issues, and share tips for creating custom lighting effects.
Smart Light Installation step by step
Step 1: Choose the Right Smart Lighting Products There are two main types of smart lights: bulbs and light strips. Decide what fits your needs:
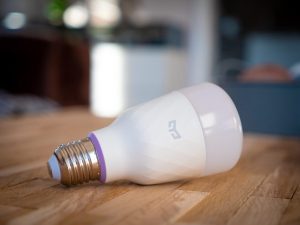
- Smart Bulbs: Replace your existing light bulbs with Wi-Fi or Zigbee-enabled bulbs.
- Recommended brands: Philips Hue, TP-Link Kasa, LIFX.
- Smart Light Strips: Flexible strips ideal for under-cabinet lighting, behind TVs, or around mirrors.
- Recommended brands: Govee, Philips Hue, LIFX Z.
Pro Tip: Ensure the lights are compatible with your smart home ecosystem (e.g., Alexa, Google Assistant, or Apple HomeKit).
Step 2: Install Your Smart Lights
- Smart Bulbs:
- Turn off the power to the fixture.
- Replace your existing bulb with a smart bulb.
- Turn the power back on.
- Smart Light Strips:
- Clean and dry the surface where you’ll place the strip.
- Peel off the adhesive backing and press the strip firmly into place.
- Connect the strip to its power adapter.
Pro Tip: Measure the area before installation to ensure you have the correct length of light strip.
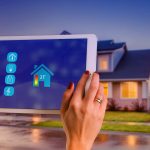
Step 3: Connect to Your Smart Home Network
- Download the manufacturer’s app (e.g., Philips Hue, Govee Home).
- Follow the app’s instructions to connect the lights to your Wi-Fi network or hub.
- Add the lights to your smart home ecosystem for voice control and automation.
- For Alexa: Use the Alexa app to add the device.
- For Google Assistant: Use the Google Home app.
- For Apple HomeKit: Scan the HomeKit code on the device.
Troubleshooting Tips:
- Ensure your phone and lights are on the same Wi-Fi network.
- Reset the light by turning it off and on in quick succession (specific instructions vary by brand).
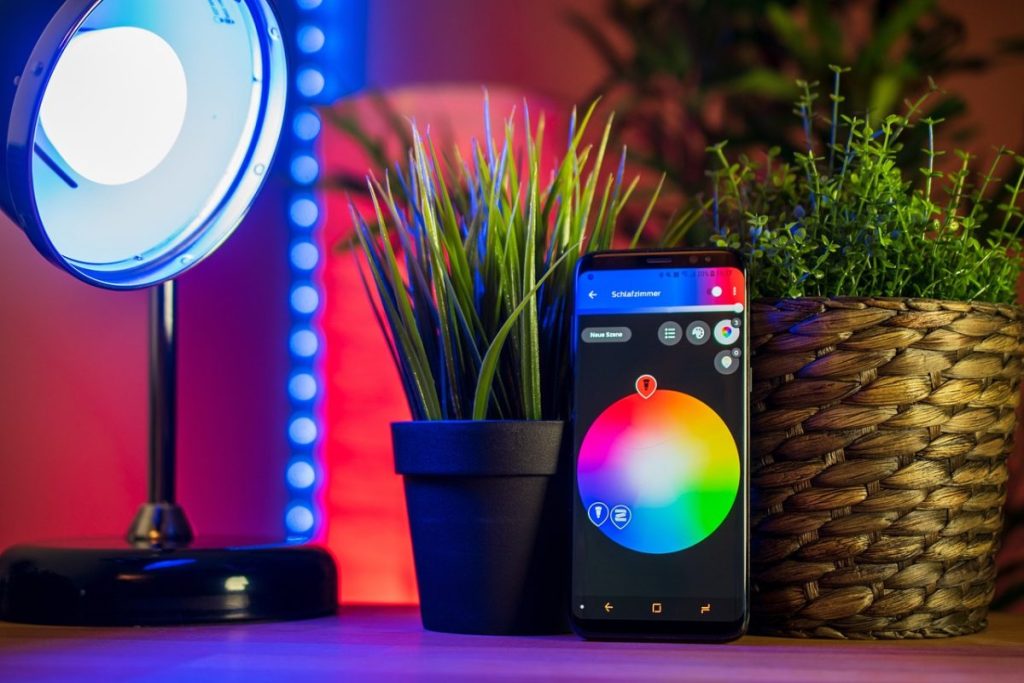
Step 4: Customize Scenes and Automation
Smart lights let you create personalized lighting setups. Here’s how to get started:
- Custom Scenes:
- Use the app to save your favorite color and brightness settings.
- Examples: “Movie Night” with dimmed warm lights or “Party Mode” with vibrant colors.
- Automation:
- Schedule lights to turn on/off at specific times.
- Set lights to activate when you enter a room using motion sensors.
Pro Tip: Experiment with circadian lighting, where the lights mimic natural daylight patterns to support your sleep cycle.
Step 5: Expand and Optimize Once your initial setup is complete, consider enhancing your smart lighting system:
- Add More Devices: Expand to other rooms or outdoor spaces.
- Sync with Music or Movies: Use apps like Hue Sync to match lighting with your entertainment.
- Integrate with Other Devices: Pair lights with smart plugs, thermostats, or security systems for a fully automated home.
Installing smart lights is a straightforward way to transform your home. With these five easy steps, you can enjoy the convenience, energy savings, and ambiance that smart lighting provides. Whether you’re starting small or aiming for a fully connected home, the possibilities are endless!
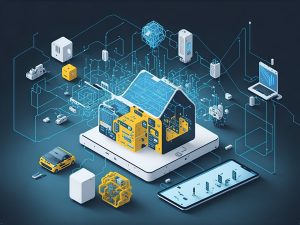
- What is IoT? A Beginner’s Guide
 The Internet of Things (IoT) is a term you’ve likely heard, but what does it really mean? At its core, IoT refers to the network of physical objects—“things”—embedded with sensors, software, and other technologies that enable them to connect to the internet and exchange data. From smart home devices to industrial machinery, IoT is transforming…
 - The Top 5 Applications of IoT in Daily Life
 The Internet of Things (IoT) is no longer a futuristic concept; it’s a reality that’s deeply integrated into our everyday lives. From managing our homes to enhancing healthcare, IoT applications are making life easier, smarter, and more connected. In this article, we’ll explore five of the most impactful ways IoT is being used in daily…
 - Top 5 Smart Home Devices of 2025: A Comprehensive Review
 As smart home technology continues to evolve, 2025 is shaping up to be a groundbreaking year for connected devices. Whether you’re upgrading your current setup or starting your smart home journey, the latest devices are smarter, more intuitive, and packed with features that make life easier and more secure. In this article, we’ll review the…